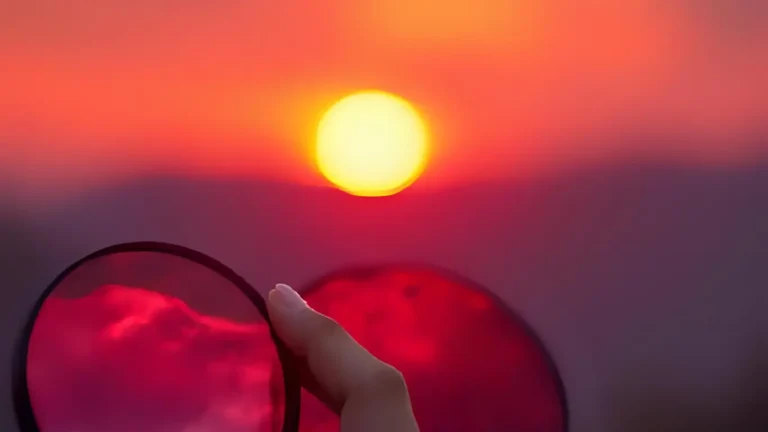
It often boils down to a single element that is crucial to your photographic success: the light. The difference between good and outstanding photos is the ability to control light. A photography reflector is one of the best and most affordable tools that you can use in your arsenal. Understanding how to utilize a photography reflector can improve the quality of your photos, whether you are a professional or a beginner.
The guide below will teach you everything you need about using a reflector in your photography. You’ll learn about the various types of reflectors, their uses in different scenarios, and how you can DIY them. Learn how to use this tool to control shadows, create professional portraits, and add warmth.
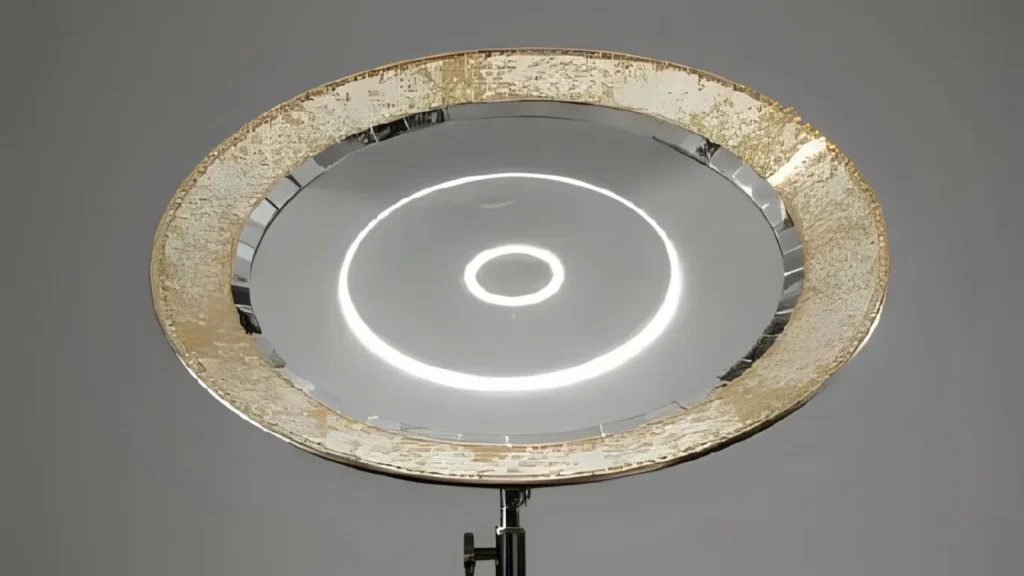
Table of Contents
What Is a Reflector for Photography, and Why Would You Need One?
The purpose of a photography reflector is to bounce light back onto the subject. This can be from a sunlamp, window, or studio lamp. A reflector is used in photography to create shadows and catchlights. It can also be used to add light or reduce it to shape the subject. Reflector photography is built on this technique.
It is not uncommon to see a night-and-day difference between photography done with or without a reflective surface. With a reflector, you can control natural light and artificial lighting without having to use a complicated setup. These reflectors are essential for food, portrait, or jewelry photography.
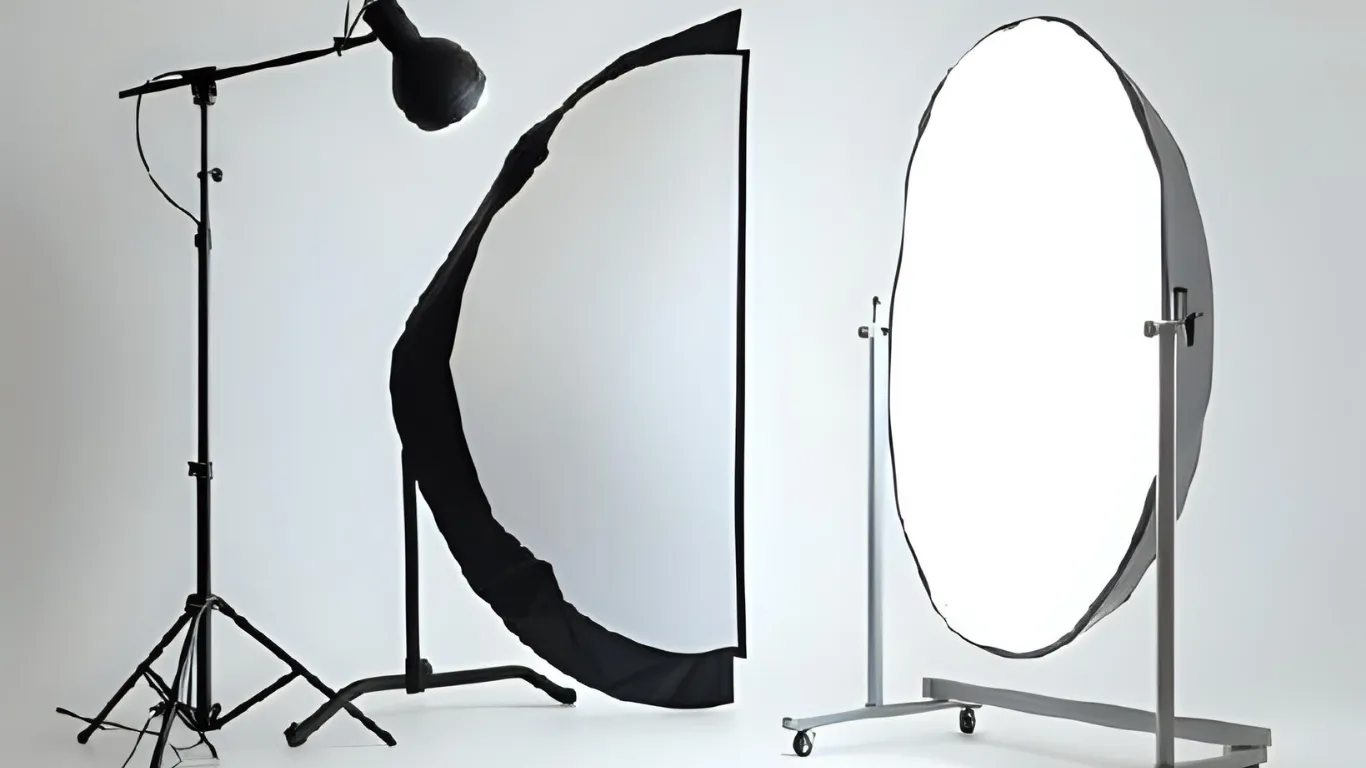
Reflectors: Different types of reflectors for photography
The majority of photographers will use a 5-in-1 reflector, a collapsible kit with multiple surfaces. We’ll break each one down.
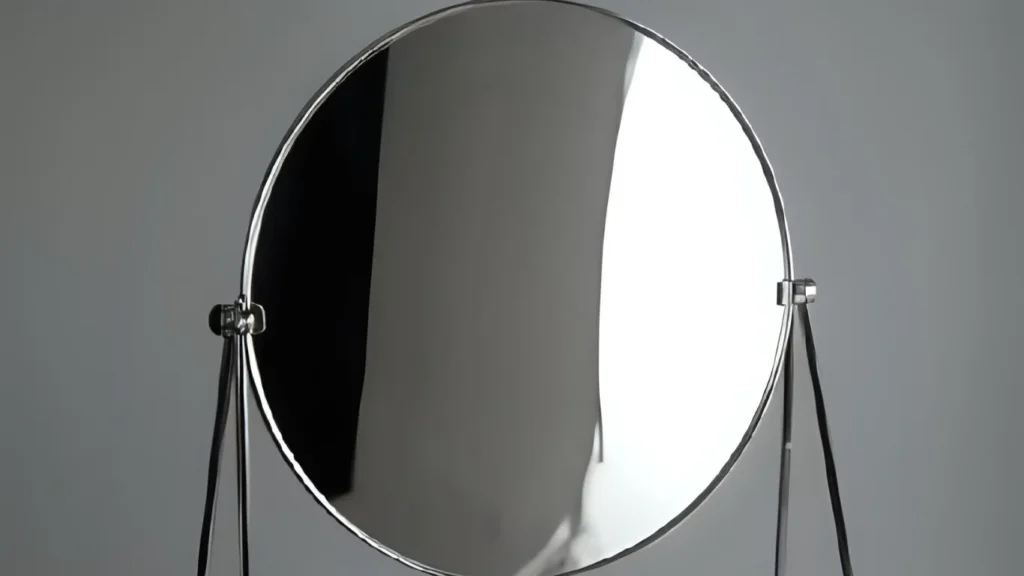
The Silver Reflector
Silver photography reflectors provide a cool, bright light. The reflector bounces a large amount of light, which creates strong contrast and specular highlights. You can use it for portraits with dramatic lighting or product photography that requires crisp details. Silver reflectors can add a high-key, punchy look to your photography.
The Gold Reflector
This gold reflective surface will add a golden glow to any subject. This is perfect for portraits taken outdoors during the golden hour, as the surface mimics warm sun tones. A gold reflector will give your skin a sun-kissed, healthy look.
White Reflector
White reflectors provide a neutral and soft fill light. White is less intense than the silver and therefore ideal for subtle lighting without harsh highlights. It’s perfect for newborn photos, portraits, and other situations where you need to lift the shadows. Foam core can be used to make your own DIY white reflector board.
Black Reflector
A black surface does not bounce light but instead absorbs it. Negative fill is a technique used to add depth to shadows and to give an image more drama. A black reflector can help you to control ambient light and isolate your subject if you are experiencing too much.
Translucent Diffuser
This translucent panel is often located in the middle of a five-in-one reflector kit. It’s used as a diffusion. It is placed between the light source and subject in order to diffuse harsh lighting. This object is like a softbox that you can carry around with you. It’s perfect for taking photos under bright sunlight.
What is a reflector?
Let’s look at how you can use reflectors in photography now that we know what they are. It’s a simple principle: point the reflector at your primary light source, the key light. Then bounce that light back to the dark side of the subject.
Using Reflectors in Outdoor Photography
The sun will be your main light source when you are shooting outdoors.
- Sun Bright: The translucent diffuser will soften the direct sun and reduce harsh shadows. Use the silver or white side of your reflector to fill in shadows left on the face. This method of using reflectors to create beautiful and even outdoor lighting is ideal for photographers.
- Cloudy Days: The light is naturally diffused on a cloudy day but can be flat at times. A silver or gold reflective surface can be used to create a directional light and add contrast. A reflector is an excellent tool for portraiture.
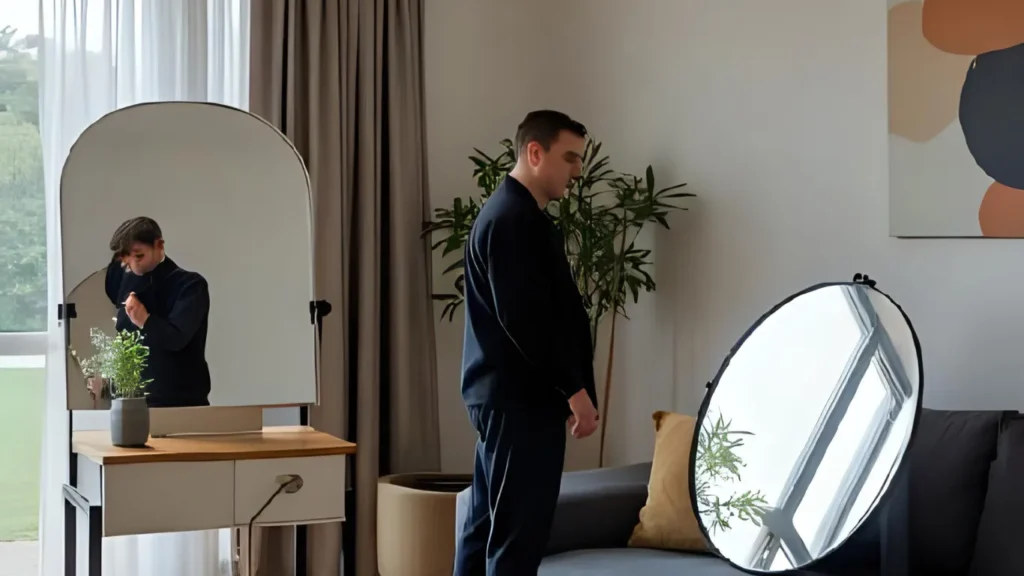
It is possible to hold the reflector by yourself. However, an assistant can make it easier. You can use a clamp or holder to attach the photography reflector on a light stand, giving you control without your hands.
Using Reflectors in Indoor Photography
You can also use artificial light for indoor photography.
- Windows Light: Place your subject close to a window. Your key will be the light that comes in. On the other side, use a reflector to bounce the light and create shadows. It’s a fantastic setup for reflector natural lighting photography.
- Studio Lighting: You can use reflectors as main fill lights in a studio to complement your strobes and continuous lighting. In a typical clamshell setup, a light above the subject is used, and then a reflector (often an angled reflector) is below to bounce the light up and fill in the shadows beneath the chin. Flash reflectors can be used to bounce the light of an on-camera flash.
Choose the right mirror to meet your needs.
Finding the right reflectors can be difficult with so many choices. Consider these factors:
- Dimensions: Which size of reflector is best for your photography? A smaller reflector, such as a 24-inch or 32-inch panel, is ideal for headshots. You’ll need a bigger reflector for full-body photos or groups of people. A 40×60 inch panel is ideal.
- Shape reflectors are available in triangular and rectangular forms. The circular reflectors create a round, pleasing catchlight. Triangular reflectors can be held with just one hand.
- Portability: Most photographers prefer a collapsible photography reflector. Foldable reflectors can be easily carried anywhere. It can be difficult to learn how to fold the reflector at first. However, with just a figure-eight turn, you will find it easy.
A 5-in-1 kit of reflectors around 43 inches is an excellent starting point for beginners. Amazon has many high-quality and affordable options. You can start your experimentation with a decent kit of photography reflectors that includes all surfaces.
Photo Reflectors: DIY Ideas
You would rather not spend a lot of money on a new reflector. Make one yourself.
- Foam core board: An inexpensive piece of foam board in white from the craft store makes for a great DIY reflector. This provides neutral, soft fill lighting.
- Aluminum foil: To make a silver reflector on cardboard, crumple up aluminum foil. It creates an extremely reflective surface.
- A White Sheet or T-Shirt: If you’re in a hurry, a white sheet or t-shirt can be used to reflect a little light.
You can also create a DIY reflector with PVC pipe or clamps. This gives you greater flexibility.
Related Articles
Final Thought: Enhance Your Photos with a Reflector
The photography reflector can be used to shape light in a simple and effective way. This tool will have a major impact on the quality of your photographs, whether you use a 5-in-1 kit that is versatile or a DIY board. Gain more control of your lighting. You can fill in shadows, enhance warmth, produce drama, and create more polished and professional images.
Begin experimenting today with reflectors. You’ll notice the difference when you bounce the light in the shadows of your product, portrait, or food photography. This small investment yields big creative rewards.